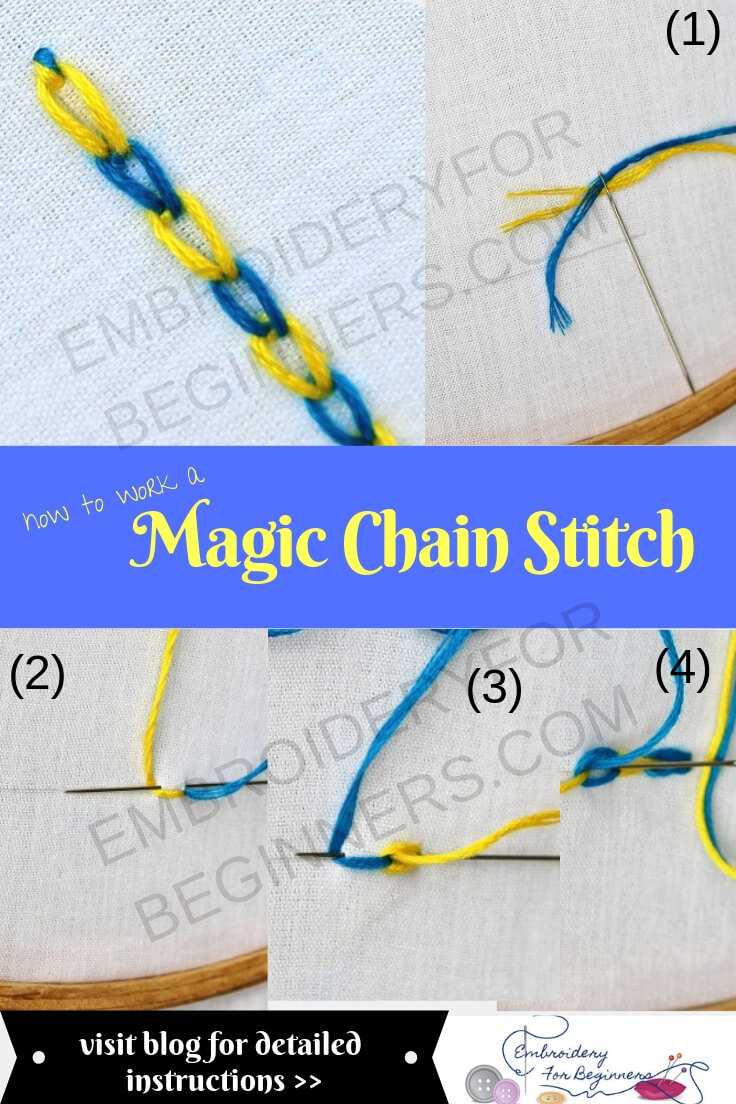
Magic Chain Stitch is a beautiful stitch that looks very pretty. It is used with contrasting color threads which makes it looks so beautiful. This is just another variation of the chain stitch.
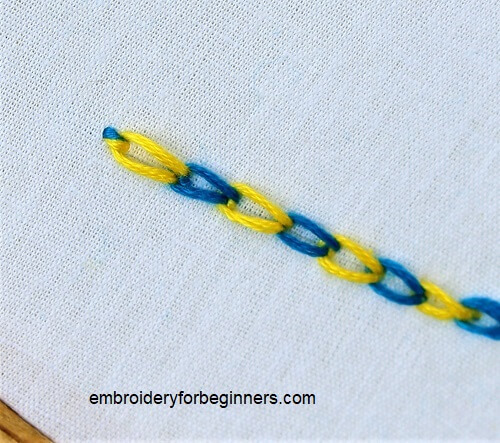
It might be a little tricky for beginners embroiderers. But once you watch carefully which thread to pull, then it becomes pretty easy to work this stitch.
What you will need?
- Any fabric.
- Embroidery hoop, 15cm (6″) (Bigger if you are working on a larger design)
- Tapestry needle
- Embroidery thread
How many strands of floss do you need for making the magic chain stitch?
You can use all 6 strands of the floss. But if you are working on a finer design, then start with 2 strands of floss and increase the number of strands according to your design.
Step by Step Pictorial Process of making the magic chain stitch
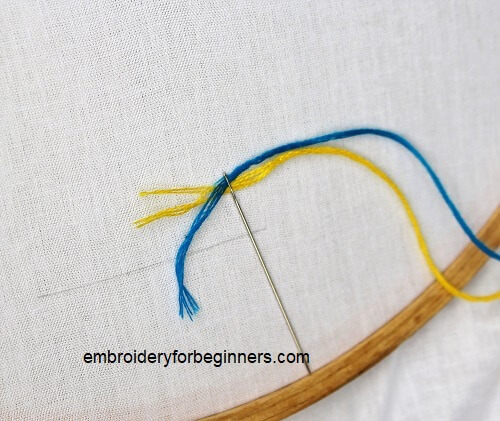
1. Start by taking two contrasting threads in a needle. Secure the knot for both the thread together.
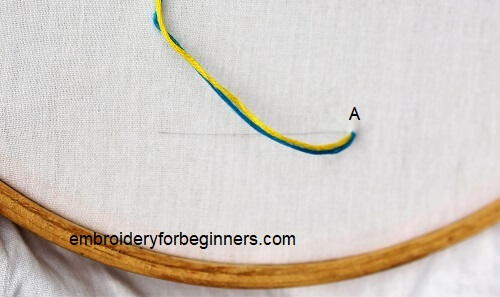
2. Bring the needle from beneath the fabric at point A.
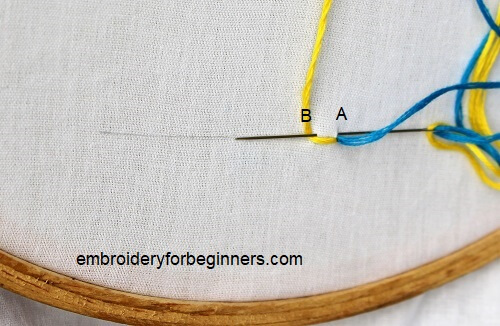
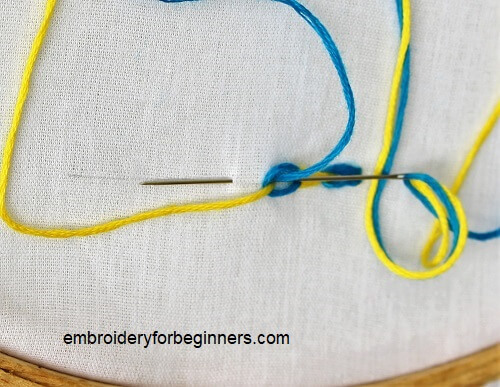
3. Insert the needle from point A to point B at the desired length. Pass one color thread under the needle as shown below. Pull both the threads gently. You will notice that the other color thread will be little longer. Gently and carefully, pull that thread to form a chain stitch.
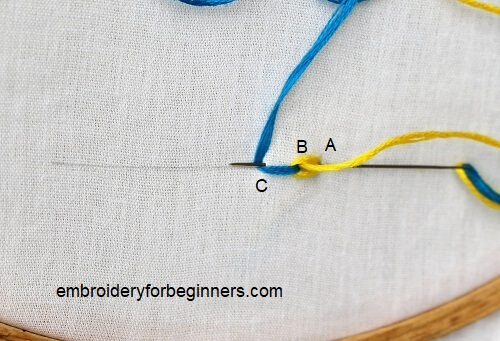
2. Next, take the needle from point B to point C and pass the other color thread under the needle. Pull in a similar fashion.
3. Work in a similar fashion, alternating the colors, till the end of the design and take it down outside the chain and secure with a knot.
Tips for working the magic chain stitch
- Use contrasting color threads for the maximum effect for this stitch.
- Separate the threads while passing through the fabric. It will be easier to work.
- Pull the thread gently. If you pull it too tightly, you will end up with a knot.
What is this stitch used for?
- This stitch can be used in a lot of designs.
- For flowers, leaves, stems, branches, outlines, almost anything can be made with this stitch.
More stitches:
- Maidenhair stitch
- Wheatear Stitch
- Fern Stitch
- Cast On Stitch
- Basque Stitch
- Long and Short Stitch
- Trellis Stitch
- Blanket stitch
- satin stitch
- back stitch
- stem stitch
Check out the video tutorial below
So until next time,
Keep Stitching,
Fareeha
Pin this image for later reference:

Donna says
I am just beginning and would appreciate any directions (step by step) that could help me. We have started doing a little traveling and I would like something to do until we get where we are going. Thanks for any beginner things you can help with!
fasembroidery says
Hi Donna,
That sounds pretty exciting! Hope you are having a lot of fun.
All the stitches on this blog are catered to the needs of the beginners. You can find step by step pictures and videos for easier understanding. If you have any doubt in any of the stitches, please do let me know. If you have the fabric, floss and the needle, that is that you would need to get started. Happy Stitching!!