Satin Stitch is a basic hand embroidery stitch that can be used to fill any small design. It is a series of a straight stitch that is closely stitched together.
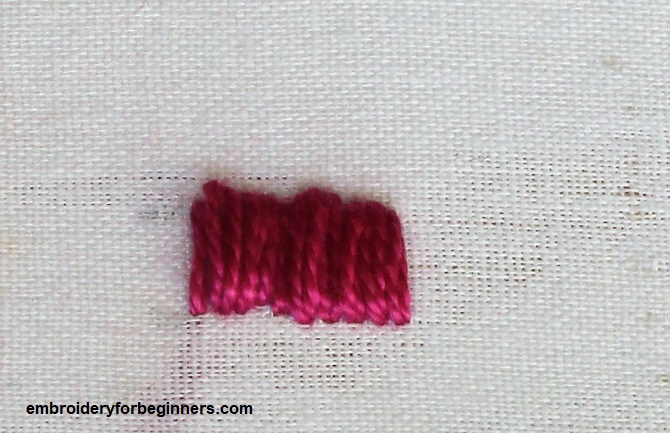
For me, the satin stitch is “the” stitch without which embroidery cannot be complete. It creates a beautiful effect on the design. Soft, flat, smooth finish is just one of the beauties that is acquired only with this stitch.
WHAT YOU WILL NEED?
- Any fabric.
- Embroidery hoop, 15cm (6″) (Bigger if you are working on a larger design)
- Tapestry needle
- Embroidery thread
HOW MANY STRANDS OF FLOSS SHOULD I USE FOR MAKING THE SATIN STITCH?
The lesser strands you use, the smoother finish you will get with the design. I prefer using 2 strands of floss for making the satin stitch. At times, I use just one if the design calls for a smoother finish or 3 strands as per necessity.
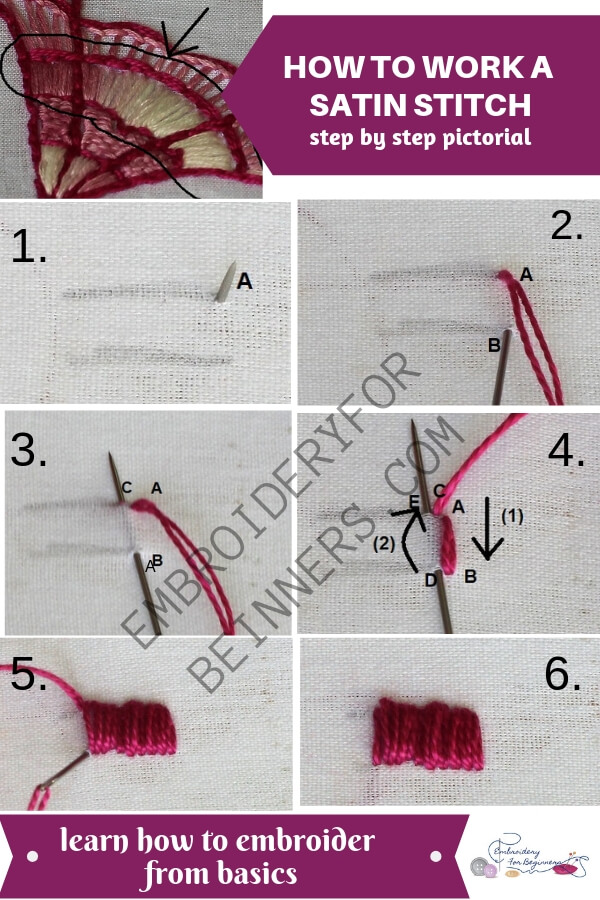
Step by Step Pictorial Process of making the Satin Stitch
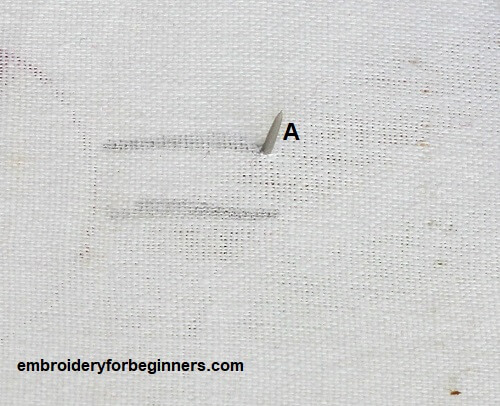
1. Start with inserting the needle at point A. Bring the thread up.
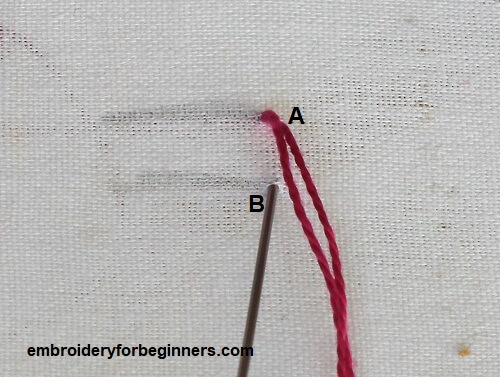
2. Insert the needle at the desired distance at point B.
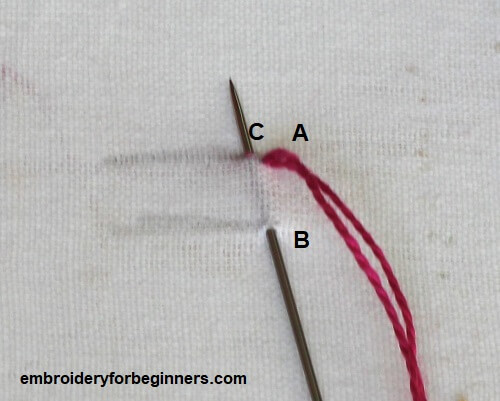
3. Again, pierce it just next to the point A. The stitch should be closely stitched together without gap.
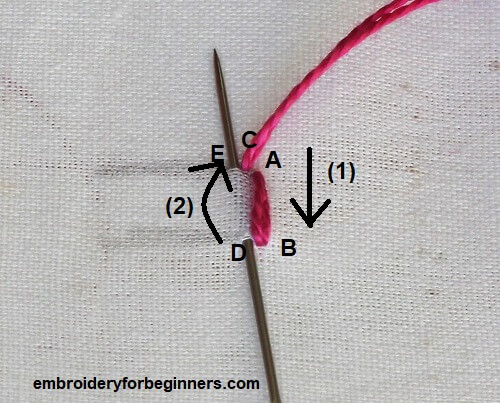
4. Again bring up the thread at point C and take it down at point D. Arrow (1) depicts the stitch that lays over the fabric and arrow (2) depicts the thread that goes under the fabric.
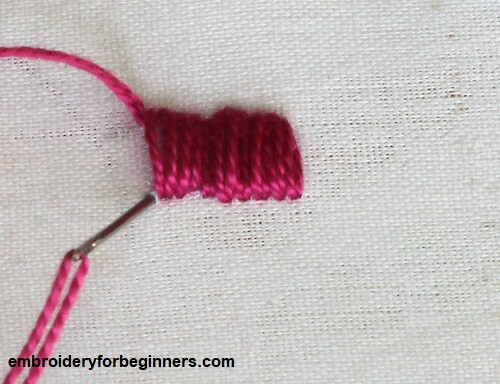
5. Continue to work in similar fashion till the end of design.
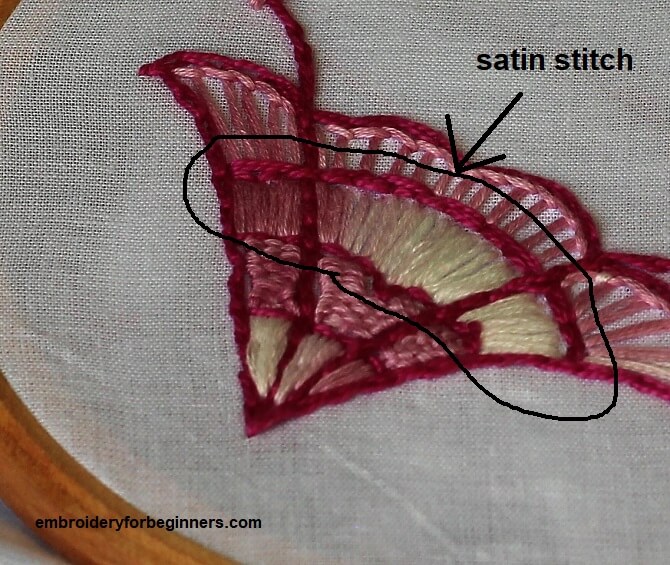
You can see below how I have incorporated the satin stitch into a pattern. You can find how I made the outline in the tutorial that I shared yesterday split back stitch.
Tips for working the satin stitch
- Generally, this stitch is used as a filling to a pattern. So you will have to make the boundary for the outer design rather than the filling.
- It takes little patience to get a good finish with this stitch. But with practice, you can easily master this satin stitch.
- Using silk thread will give a very beautiful finish to it.
What is this stitch used for?
- It is used a filling for flowers apart from the french knots.
- Entire designs can also be made with the satin stitch. It has a very smooth and beautiful finish to it.
Check out the video tutorial below
So until next time,
Keep Stitching,
Fareeha
Pin this image for later reference:

Leave a Reply