Embroidery For Beginners

Learn How to Embroider

  • Home
  • Contact
  • Basic Stitches
    • Back Stitches
    • Blanket Stiches
    • Chain Stitches
    • Chevron Stitches
    • Feather Stitches
    • Fishbone Stitches
    • Fly Stitches
    • Herringbone Stitches
    • Knots
    • Running Stitches
    • Satin Stitches
    • Stem Stitches
    • Straight Stitches
    • Weaving Stitches
  • Embroidery Designs
  • About

Bridal Pin Tutorial (Step By Step & Video)

August 29, 2019 By fasembroidery Leave a Comment

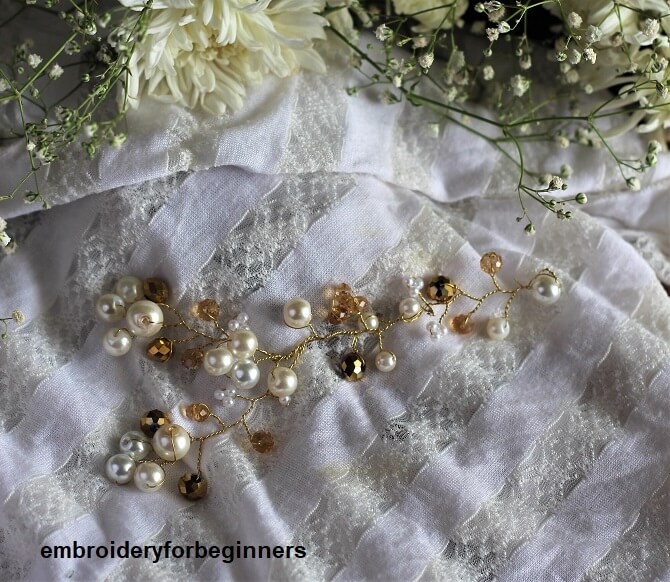
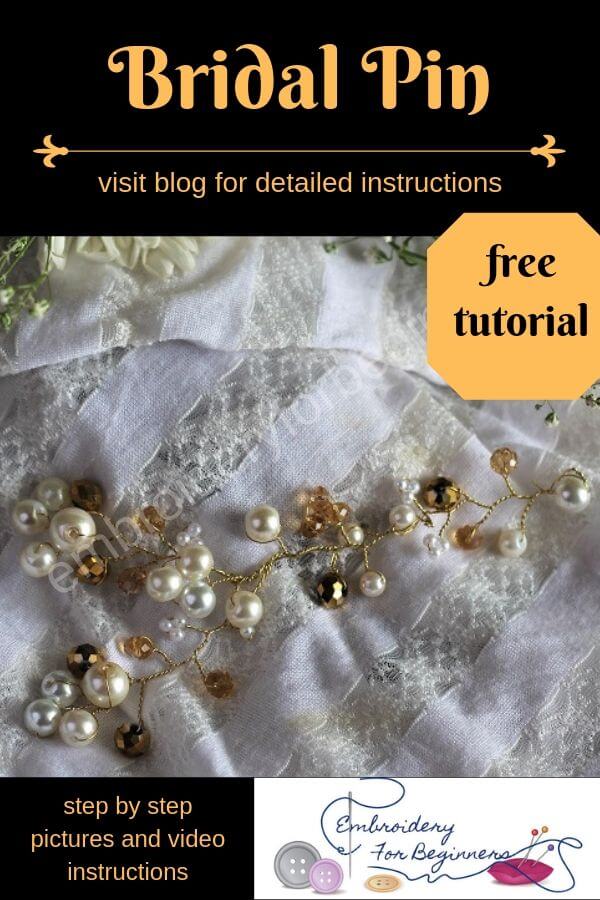
Bridal Pin is a simple and yet a beautiful clip that can make your day very special at a very low budget. You can use this as a hair clip, brooch or into anything that you fancy.

bridal pin

What you will need:

  • Pearls (Buy Pearl Round Beads Assorted Sizes)
  • Beads
  • Jewelry Wire
  • Wire Cutter (You can buy Jewelry Making Supplies here)

Step by Step Pictures of making the DIY Bridal Pin

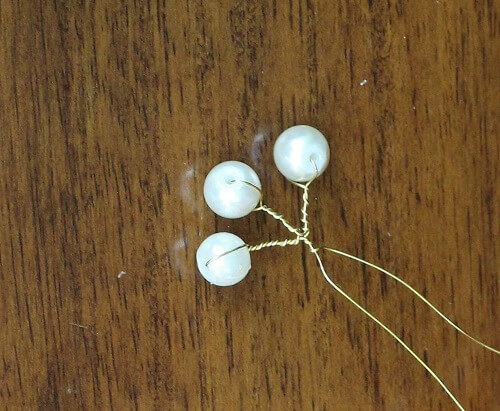
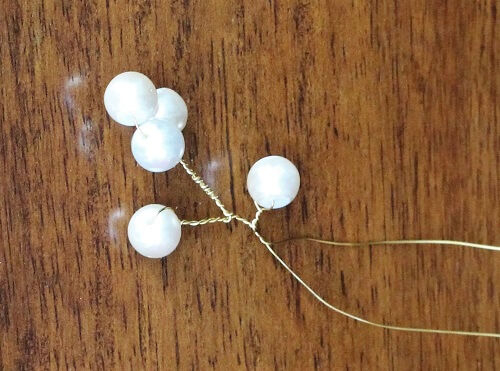
1. Start by cutting the jewelry wire by 20 inches.  Insert 1 pearl from one end of the wire. Twist the wire. Add another pearl and twist again. Continue to make it in a similar fashion for one more pearl.

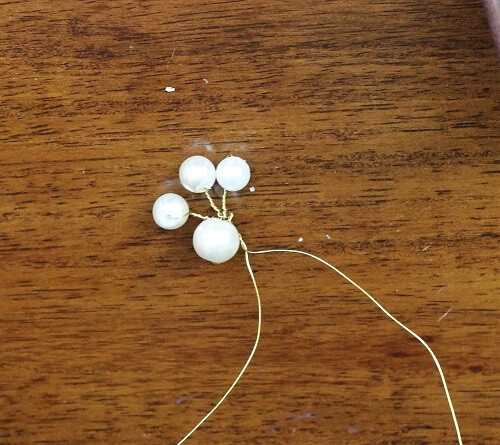
2. Next, insert 1 big-sized bead and twist and bring it on the front as shown above.

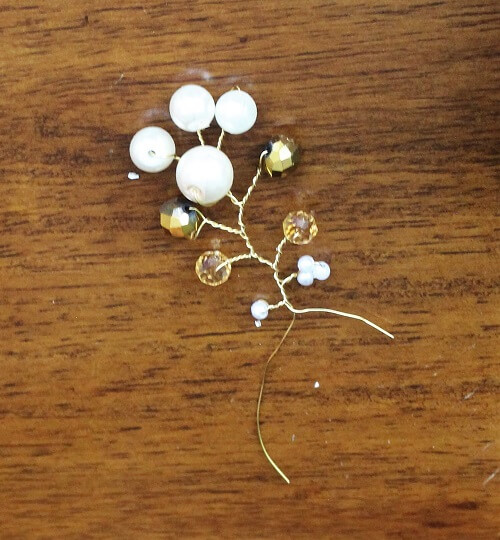
3. Next, twist both the wires together before moving ahead with the rest of the pattern. You can work the rest of the pattern as shown in the picture above. You can check out the video tutorial for better reference.

4. Make one more similar pattern.

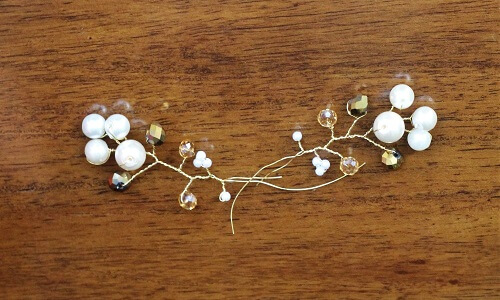
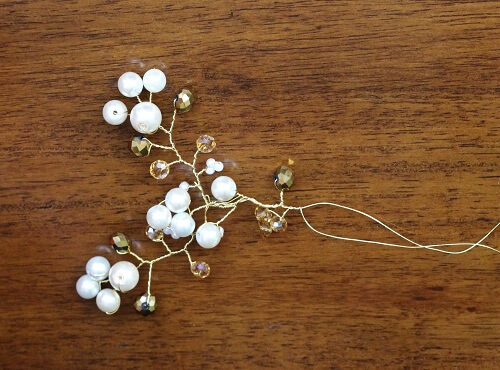
5. Join both the patterns together as shown above.

6. Next, start making a new pattern with the jewelry wire as shown above.

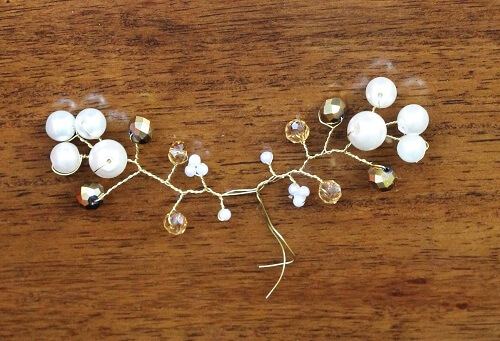
7. Attach it with the previous patterns with the excess wire in the center.

8. Continue working on the pattern for the rest of the wire.

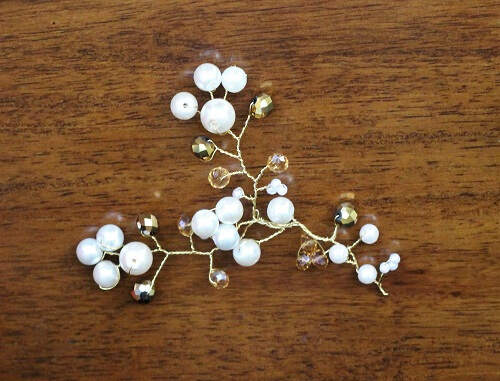
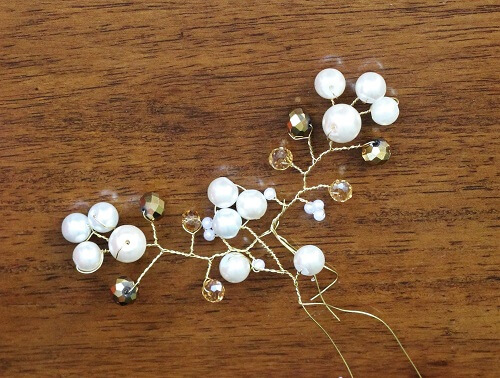
9. Once, you have reached the end of the pattern, cut off the excess wire. Ensure that the edges of the wires are twisted and secured well to prevent scratching of the hair or dress. You can also apply some glue gun or wax at the edges.

You can use this pattern for making a bridal pin, clip, brooch, etc.

Watch the video below and do not forget to subscribe to our channel for receiving the latest updates:

Until Next Time,

Faa

Pin this for future reference:

visit blog for details

Tweet
Pin24K
Share
24K Shares

Filed Under: DIY, Jewelry Making Tagged With: jewelry making

« Simple Ribbon Flower DIY (Step By Step & Video)
Embroider With Me Series 8 »

Leave a Reply Cancel reply

Your email address will not be published. Required fields are marked *

Join Our Facebook Group

Categories

  • Back Stitches (7)
  • Basic Stitches (118)
  • Blanket Stiches (13)
  • Chain Stitches (24)
  • Chevron Stitches (4)
  • Couching (1)
  • Cretan Stitches (3)
  • Cross Stitches (2)
  • DIY (8)
  • Embroidery Designs (14)
  • Feather Stitches (9)
  • Fishbone Stitches (5)
  • Fly Stitches (4)
  • Herringbone Stitches (4)
  • Jewelry Making (5)
  • Knots (23)
  • Palestrina Stitches (2)
  • Ribbon Flowers (2)
  • Running Stitches (9)
  • Satin Stitches (10)
  • Stem Stitches (7)
  • Straight Stitches (12)
  • Weaving Stitches (8)

Like Us

Join Our Facebook Group

Follow Us

Follow Us

About FAREEHA

I am the developer, writer, and photographer behind this blog, “Embroidery For Beginners”.

You can learn more about me here.

© 2019 Embroidery For Beginners. All Rights Reserved. Pricacy Policy, Disclosure & Disclaimer Site Map