If you have missed part 1, you can check it out here and part 2 here. I have shared how to work the flower in that EmWiMe 1 series. In this post, I’ll be sharing how to work the leaves and stem. You can check out the video tutorial towards the end for better understanding.
Check out
Part 1
Part 2
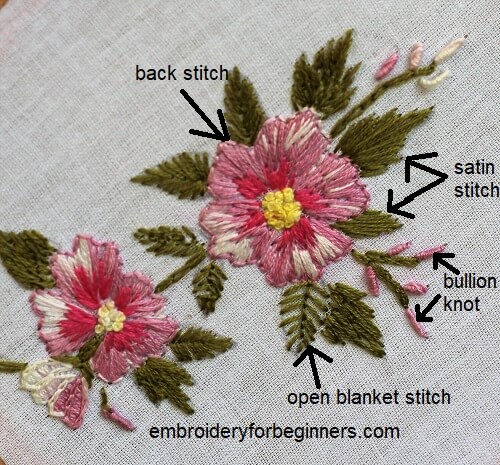
You can see the stitches that I have made in the design. Bullion Knots, Open fishbone, Back Stitch, Satin Stitch, are used in this particular tutorial.
WHAT YOU WILL NEED?
- Any fabric.
- Embroidery hoop, 15cm (6″) ( You can purchase a set of 6 hoops from Amazon for your basic needs.)
- Tapestry needle
- Embroidery thread (DMC) You can buy this pack of 36 shades of the DMC embroidery floss.
HOW MANY STRANDS OF FLOSS DO YOU NEED FOR MAKING THIS PATTERN?
I have used 2 strands for all the stitches.
Step by Step Process of making this design
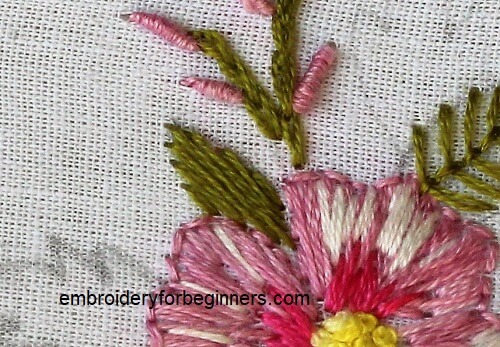
The leaves are made with the open fishbone stitch which I’ll be sharing in the near future. But you can check out the raised fishbone stitch. It’s not a difficult stitch and you can easily follow by the video provided below.
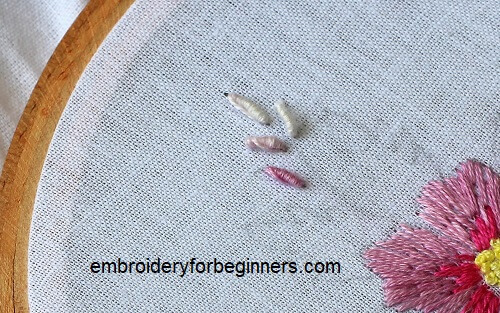
The next is the bullion knots.
And the back stitch for the outline. Leaves are finished with a satin stitch.
I hope you found this tutorial easy to follow. Watch out for more embroidery designs on this blog.
(THIS POST PROBABLY CONTAINS AFFILIATE LINKS. OUR FULL DISCLOSURE POLICY IS REALLY BORING, BUT YOU CAN FIND IT HERE)
Check out the video tutorial below
So until next time,
Keep Stitching,
Fareeha
Buy the following DMC threads for your basic embroidery needs
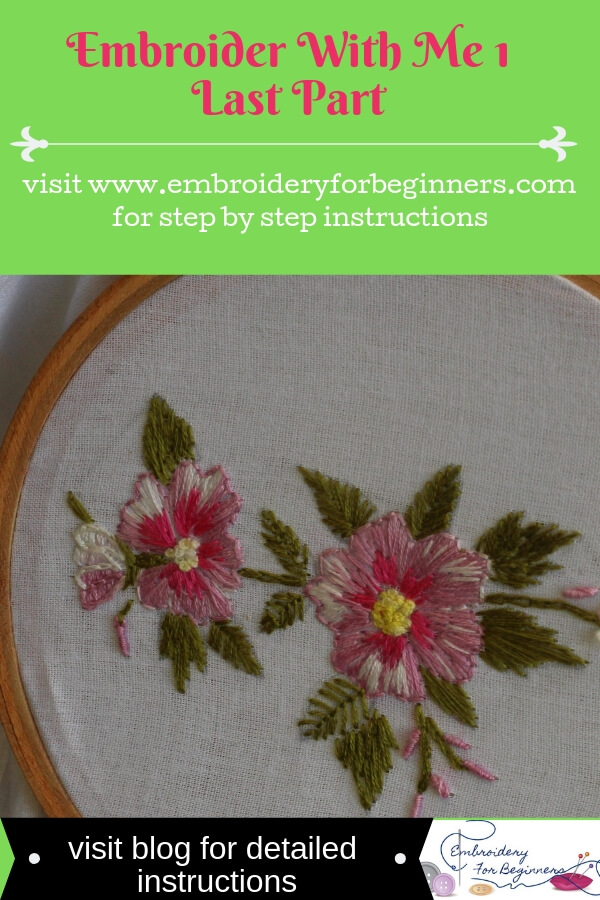
Pin this image for later reference:

Leave a Reply