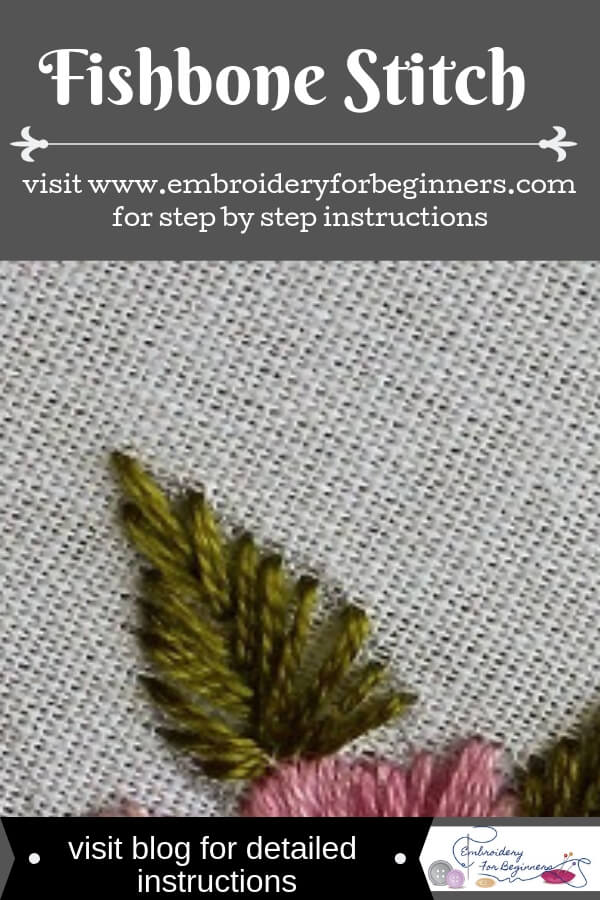
Fishbone stitch is a beautiful stitch which works great for leaves. This is the basic stitch in the fishbone category. You might have already seen the raised fishbone stitch that I shared before.

This is a very commonly used stitch for leaves. This looks so pretty and is so easy to work, that you will find yourself working it again and again.
What you will need?
- Any fabric.
- Embroidery hoop, 15cm (6″) (Bigger if you are working on a larger design) ( You can purchase a set of 6 hoops from Amazon for your basic needs.)
- Tapestry needle (
- Embroidery thread (You can buy this pack of 36 shades of the DMC embroidery floss.)
How many strands of floss do you need for making the fishbone stitch?
You can use all 6 strands of the floss. But if you are working on a finer design, then start with 2 strands of floss and increase the number of strands according to your design. In the below tutorial I have used 2 strands.
Step by Step Pictorial Process of making the fishbone stitch

1. Start by the bringing the needle from beneath the fabric at point A. Make a straight stitch at point B. Without taking down the needle, insert at point C and bring the needle out with the thread. Insert the needle on the other side from point D to E.
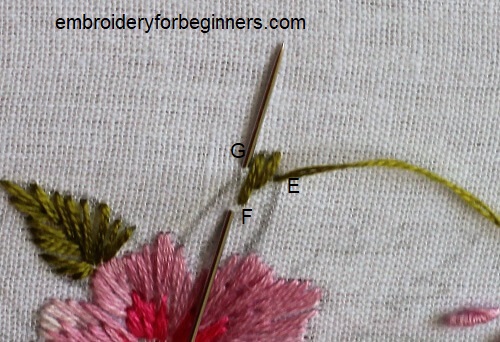
2. Pull the thread up and again make a stitch from point F to point G.

3. Alternate the stitches on both the sides.
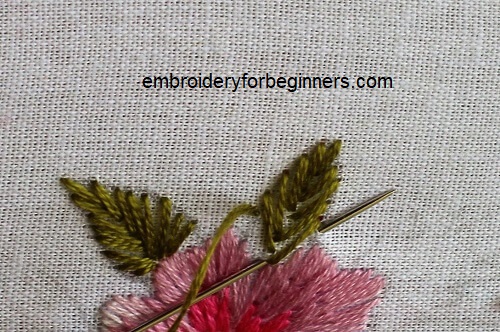
4. Keep working till the end of the pattern.
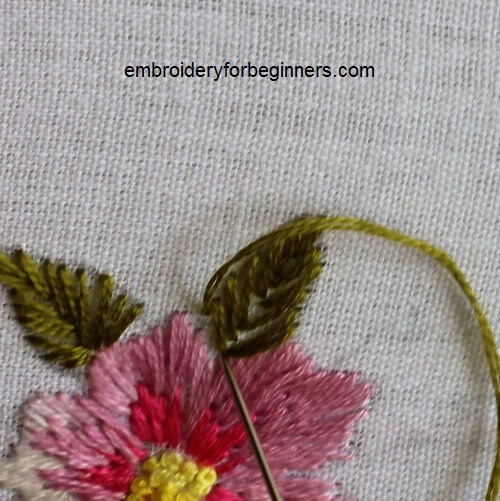
5. You can finally take the needle down in the center at the end of the design and secure with a knot.
Tips for working the fishbone stitch
- Divide the working area into two sections and work on it.
What is this stitch used for?
- It can be used for filling the flowers, leaves or any patterns.
- You can make the center line in the middle or make it into a curve with a slant.
(THIS POST PROBABLY CONTAINS AFFILIATE LINKS. OUR FULL DISCLOSURE POLICY IS REALLY BORING, BUT YOU CAN FIND IT HERE)
More stitches:
- Maidenhair stitch
- Wheatear Stitch
- Fern Stitch
- Cast On Stitch
- Basque Stitch
- Long and Short Stitch
- Trellis Stitch
- Blanket stitch
- satin stitch
- back stitch
- stem stitch
Check out the video tutorial below
The first stitch is the fishbone stitch
So until next time,
Keep Stitching,
Fareeha
Pin this image for later reference:

Leave a Reply